iTerm2安裝
2024/05/27 更新
換了一台mac mini,
東西要重裝,然後發現,我指令都過時了,順便重新整理一下。
- 安裝 Homebrew
/bin/bash -c "$(curl -fsSL https://raw.githubusercontent.com/Homebrew/install/HEAD/install.sh)"
- 安裝iTerm2
brew install --cask iterm2
-
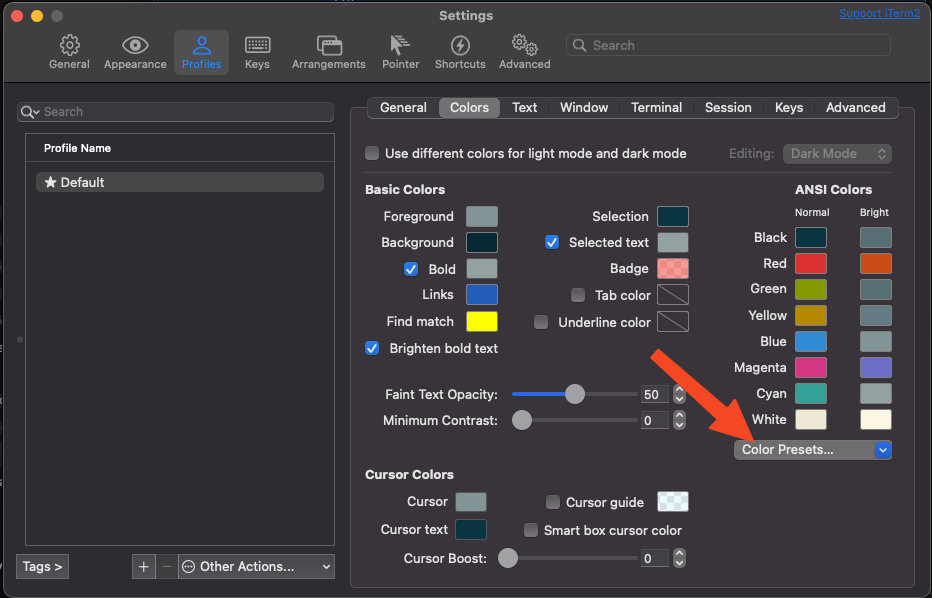
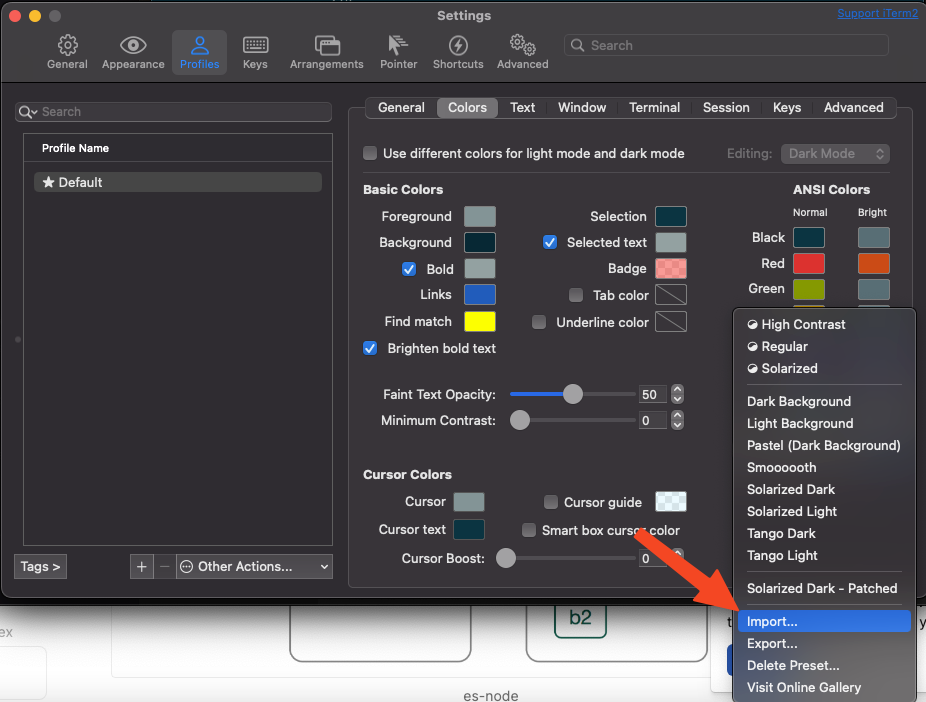
套用配色
到iterm2 color schemes 選擇喜歡的配色後import。
-
安裝ZSH
brew install zsh zsh-completions
- 將預設終端機改爲ZSH
sudo sh -c "echo $(which zsh) >> /etc/shells"
chsh -s $(which zsh)
- 安裝 Oh My ZSH
sh -c "$(curl -fsSL https://raw.github.com/robbyrussell/oh-my-zsh/master/tools/install.sh)"
- 套用主題
open ~/.zshrc
找關鍵字, SH_THEME=
修改成
ZSH_THEME="agnoster"
-
安裝 powerline font
brew install --cask font-sauce-code-pro-nerd-font參考上面圖片,改選擇Text,修改字體,字體名稱為
SauceCodePro Nerd Ford
如果要找其他字體的話,搜尋關鍵字Nerd
brew search --cask nerd -
修改字體,不然有亂碼(已棄用)
# clone 複製
git clone https://github.com/powerline/fonts.git --depth=1
# install 安裝
cd fonts
./install.sh
套用字體
iTerm → Preferences → Profiles → Text → Change Font→ Meslo
- 程式碼高亮
brew install zsh-syntax-highlighting
然後修改設定
open ~/.zshrc
設定檔最後加上
# For zsh syntax-highlighting
source /usr/local/share/zsh-syntax-highlighting/zsh-syntax-highlighting.zsh
ref.